Confirmation of Account
Easily confirm bank account ownership to approve payouts
Operators and customers are facing increasing friction when approving payouts because of the complexity of confirming ownership of bank accounts before sending funds. This happens when, for example, the customer has used more than one debit card or method to fund their wagering, or they have used a 3rd party payment provider such as ApplePay which obscures the card details.
DoTrust’s Confirmation of Account service solves this problem. A simple integration within your secure account or cashier pages allows your customer to verify their bank account in seconds using Open Banking.
This feature is designed for on-site implementation and is not available in the API
Set up your journey
Log in to the DoTrust console. You will need sufficient permissions to create and edit hosted journeys. If in doubt, contact an administrator.
Go to Service Admin > Journeys and create the Journey in the interface. Set your theme so that it blends in to the target page. Your logo and the Header will not be displayed.

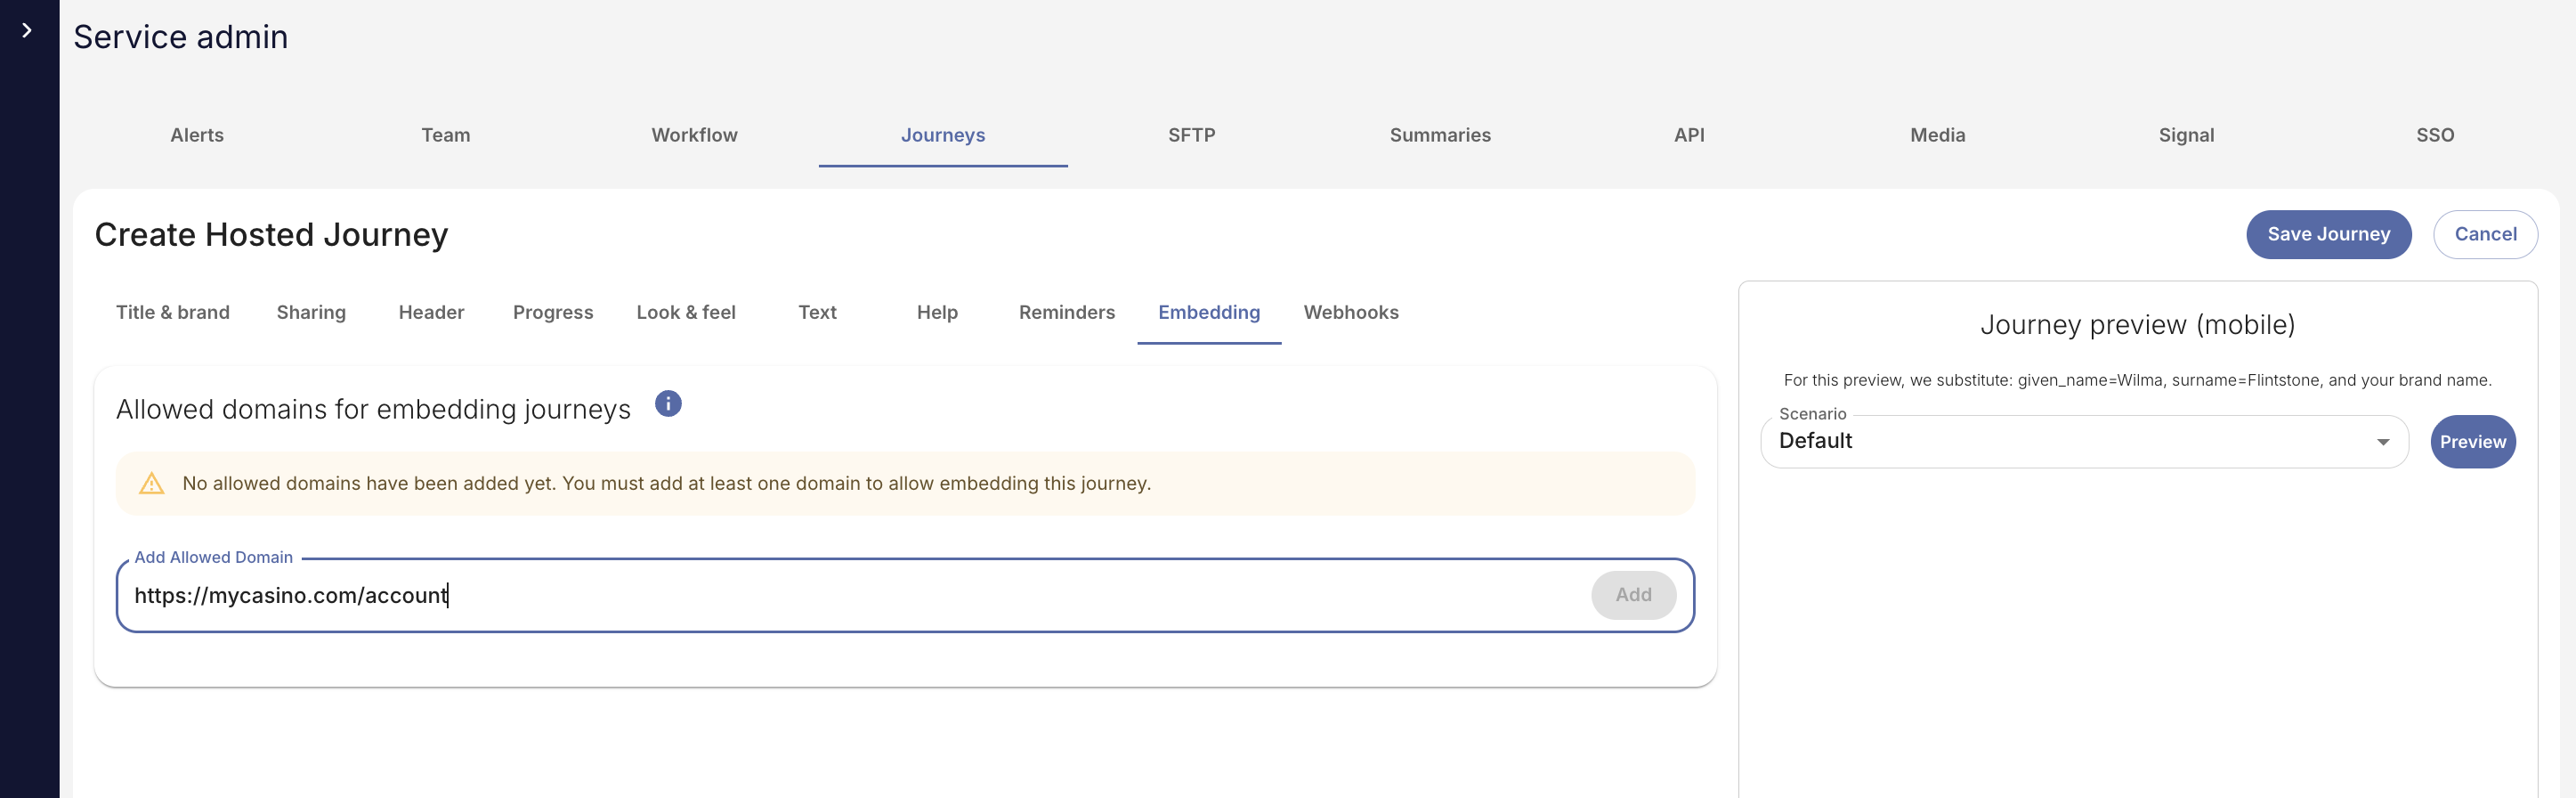
In the Embedding tab, specify the URL where the interface will be hosted. This is a security requirement.
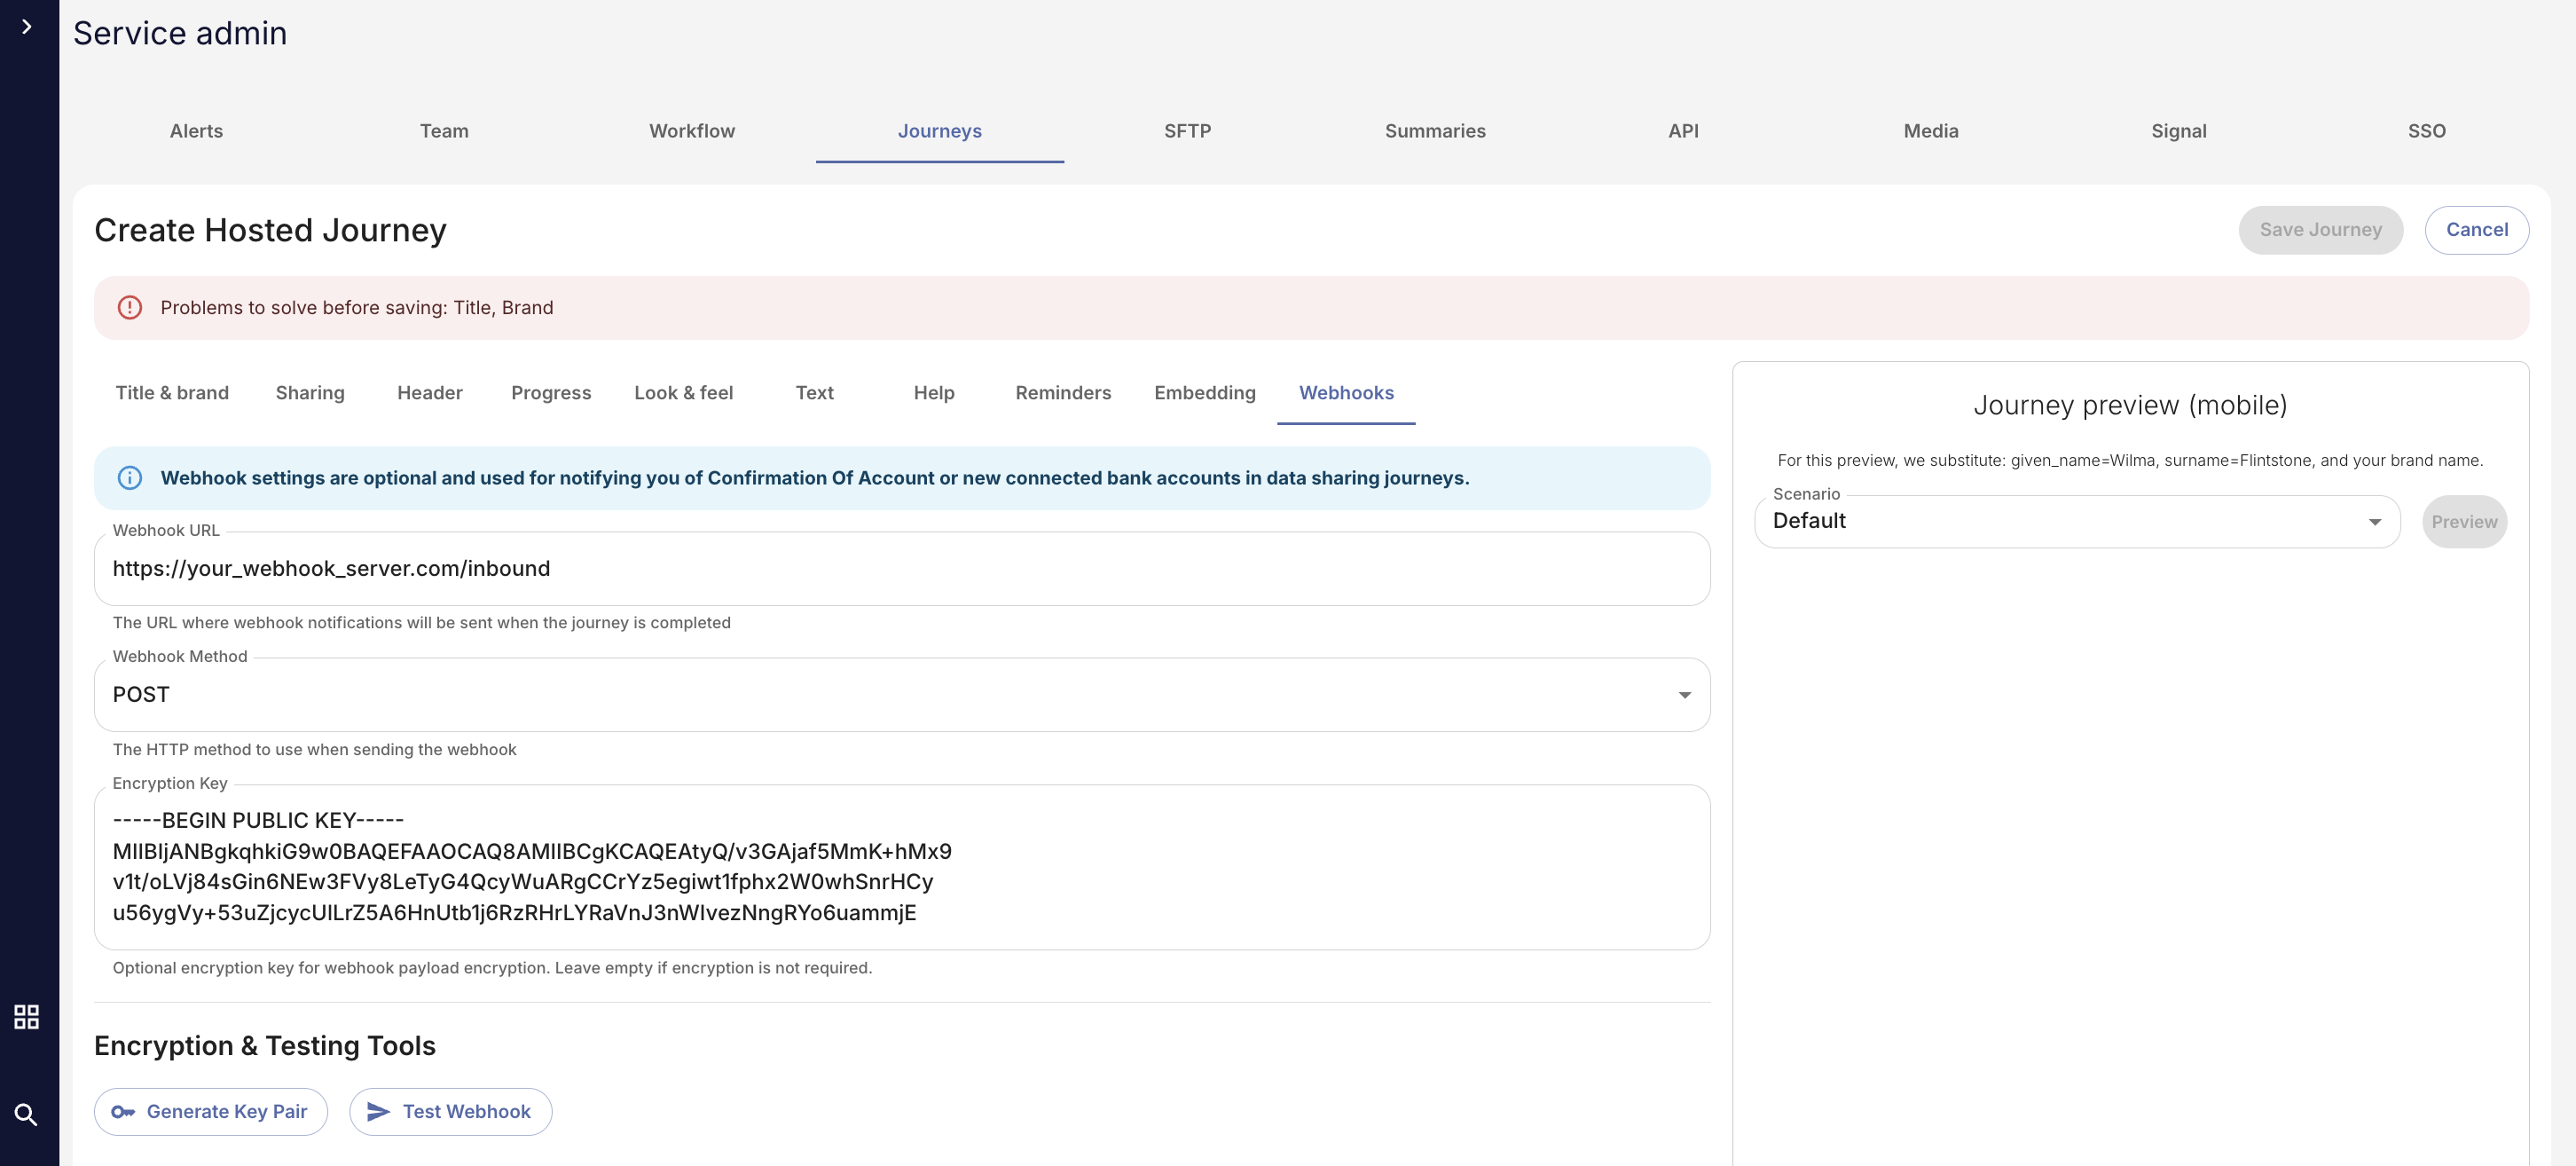
If you want webhook notifications, you can set these up in the Webhooks tab:
If enabled, you will receive a message every time a customer successfully completes a confirmation of account journey. The structure is:
{
  accounts: number;
  session?: string;
  customerId: string;
  accounts_data: AccountRecord[] | string; // Either array of account objects or encrypted string
}


interface RiskFactors {
  recentlyOpenedAccount: boolean;
  recentlyActivatedAccount: boolean;
  recentlyDormantAccount: boolean;
  lowTransactionVolume: boolean;
  noDepositsToOperator: boolean;
  currentlySwitching: boolean;
  prePaidAccount: boolean;
  businessAccount: boolean;
  creditCardAccount: boolean;
  loanAccount: boolean;
  nonGBPAccount: boolean;
  accountRestrictions: boolean;
}

interface AccountRecord {
  account_number: string;
  account_owner: string;
  sortCode?: string | undefined;
  bank: string;
  riskFactors: COWRiskFactors;
}Using Webhook encryption (recommended)
Embedding the journey in your site
To embed the journey itself, add the script tag to the bottom of your web page immediately before the closing body tag.
<script
defer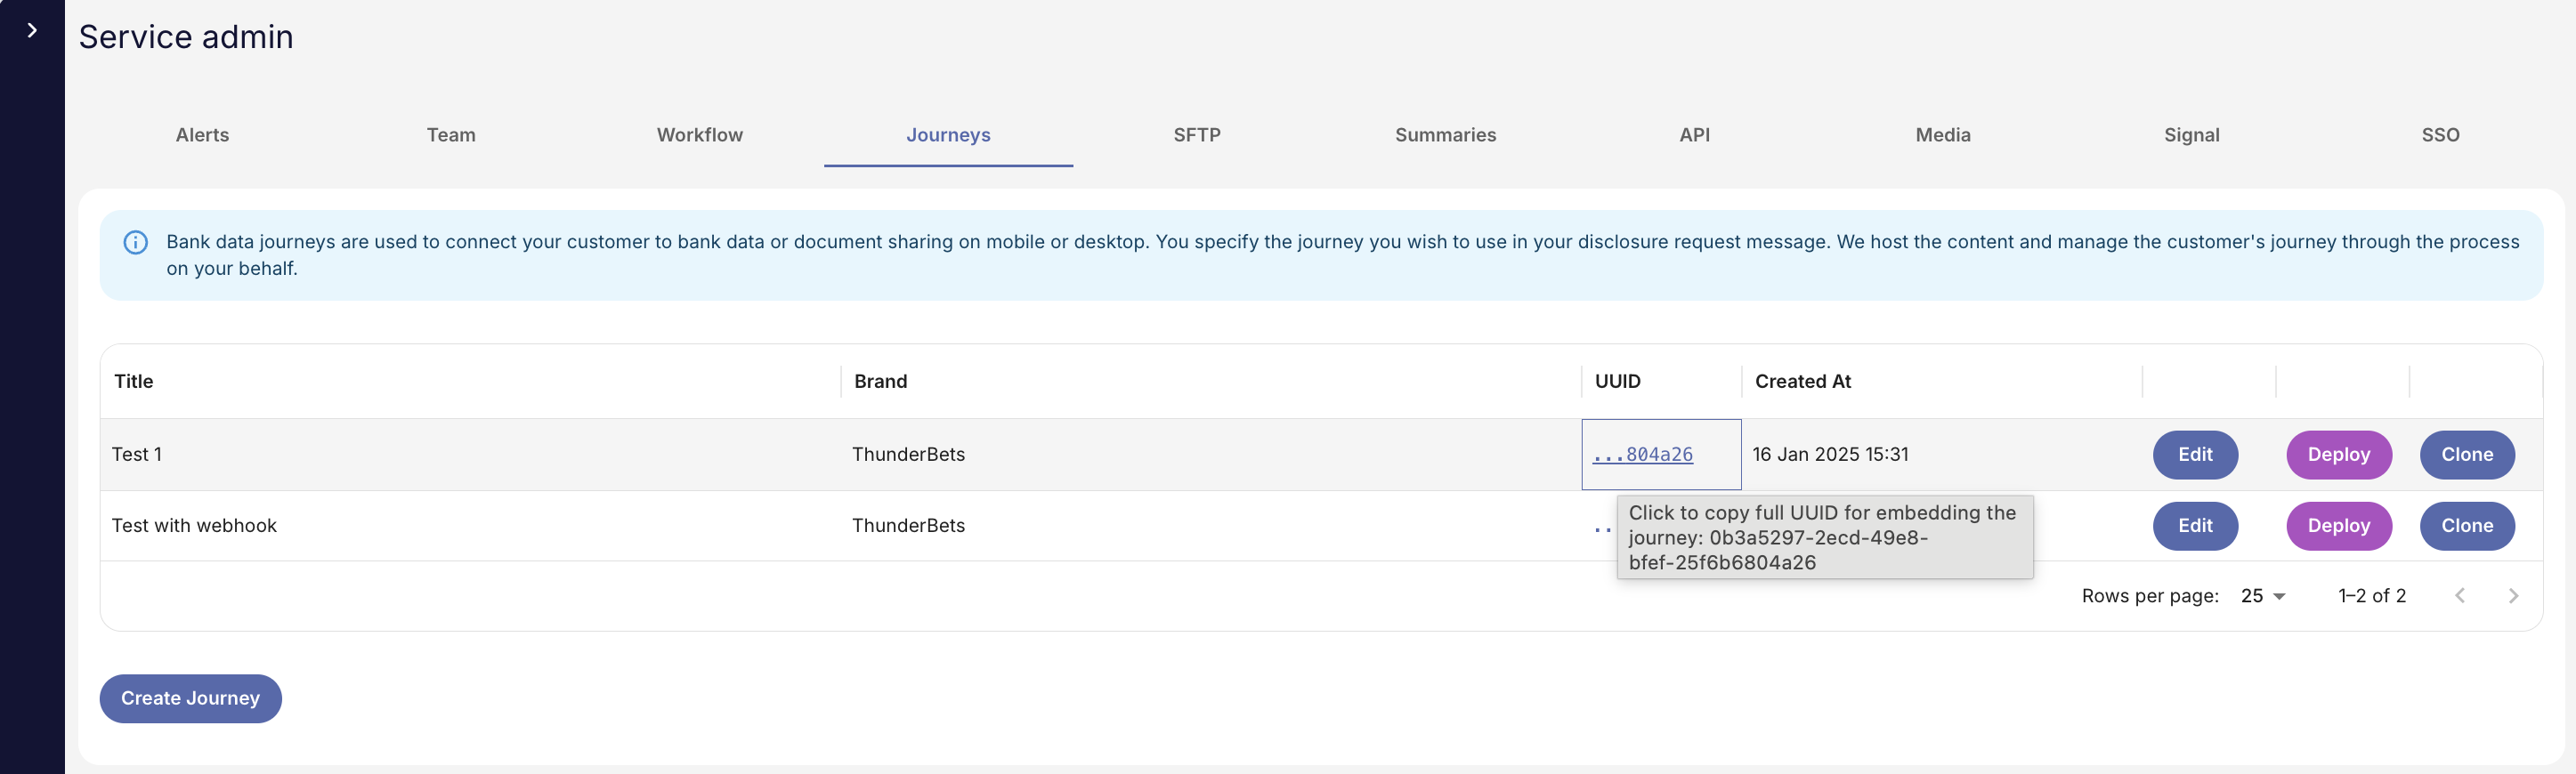
src=”https://dotrust.co/embeddedJourney/_journey_uuid"></script>The journey UUID is available in the list of Journeys in the Journeys tab:
Finally, you’ll need to embed the DIV tag where you want to display the content.
There are three modes:
-
inline: renders an iFrame
-
button: renders a button which launches an iFrame in a modal
-
hidden: awaits an event from your page to launch the modal
Here is an example DIV tag for Confirmation of Account:
<div
  data-dotrust-journey
  data-customer-id="YOUR_CUSTOMER_ID"
  data-income-disclosure-level="0"
  data-gambling-disclosure-level="0"
  data-general-disclosure-level="0"
  data-days="00"
  data-end-date=""
  data-mode="inline"
  data-width="100%"
data-height="600px"></div>-
Customer ID: this is your UUID for your customer which must be immutable.
-
Disclosure levels MUST be zero.
-
Days must be zero for Confirmation of Account
-
End Date must be empty.
-
Set width and height to your design preference.
Once implemented correctly, and assuming you are in the correct domain, you will see the bank connection screen rendered with your text, theme and layout as specified in the journey definition console.
